Just in case you can’t get enough of bunnies I’ve got something for you. This little bunny will make a cute combo with the bunny rattle I posted a month ago. Brini was my April contribution to Craftaholics Anonymous so if you saw that post you’ll recognise her. I’m sharing the pattern, here again, this time with the “translation” to UK terms just in case you prefer to use them over US crochet terms (and for everyone else to miss out on the post the last time) :)
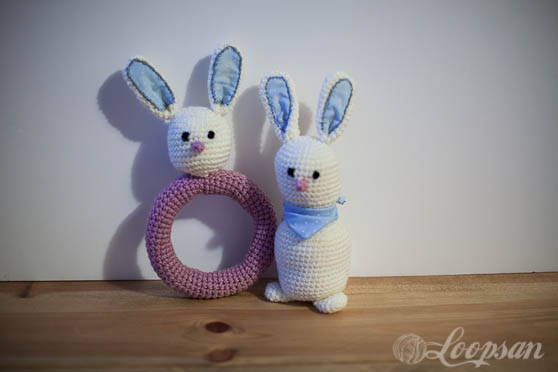
Brini- The little Bunny- Free Pattern
You’ll need:
- DK yarn in cream (I used Stylecraft Special DK in cream for mine)
- a little bit of DK yarn in pink and black
- 4 mm hook
- a little bit of contrast fabric
- sewing thread in contrast colour
- tapestry needle

Abbreviations
ch= chain
sc= single crochet (US term); double crochet (dc, UK term)
sc2tog= single crochet decrease (US term); double crochet decrease (dc2tog, UK term)
st= stitch(es)
In my patterns, UK terms are always given in brackets.

Let’s get started:
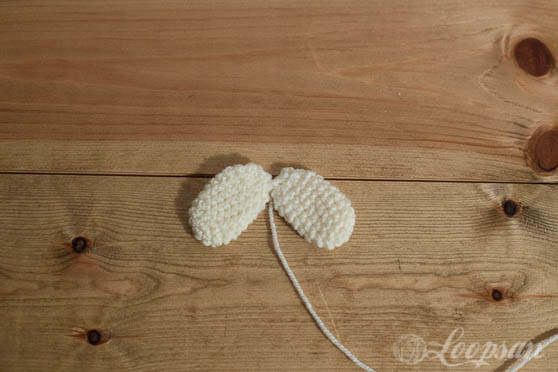
There are two different approaches to this pattern. You can crochet the ears onto the head following the instructions in the rattle pattern, as the head part is the same. Or you can just sew them on afterward as described here.
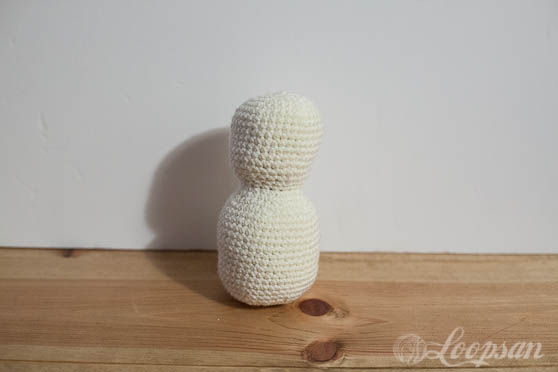
Main Body:
Round 1: 6 sc (dc) in magic ring. (6 st)
Round 2: 2 sc (dc) in each st around. (12 st)
Round 3: *2 sc (dc), sc (dc) in next st*, 6 times (18 st)
Round 4: *2 sc (dc), sc (dc) in next 2 st*, 6 times (24 st)
Round 5: *2 sc (dc), sc (dc) in next 3 st*, 6 times (30 st)
Round 6: *2 sc (dc), sc (dc) in next 4 st*, 6 times (36 st)
Round 7-14 : sc (dc) in each st around (36 st)
Round 15: *sc2tog (dc2tog), sc (dc) in next 4 st*, 6 times. (30 st)
Round 16: *sc2tog (dc2tog), sc (dc) in next 3 st*, 6 times. (24 st)
Round 17: *sc2tog (dc2tog), sc (dc) in next 2 st*, 6 times. (18 st)
Round 18: sc (dc) in each st around (18 st)
Round 19: *2 sc (dc), sc (dc) in next 2 st*, 6 times (24 st)
Round 20: *2 sc (dc), sc (dc) in next 3 st*, 6 times (30 st)
Round 21: *2 sc (dc), sc (dc) in next 4 st*, 6 times (36 st)
Round 22: *2 sc (dc), sc (dc) in next 5 st*, 6 times (42 st)
Round 23-35: sc (dc) in each st around (42 st)
start stuffing your bunny here.
Round 36: *sc2tog (dc2tog), sc (dc) in next 5 st*, 6 times. (36 st)
Round 37: *sc2tog (dc2tog), sc (dc) in next 4 st*, 6 times. (30 st)
Round 38: *sc2tog (dc2tog), sc (dc) in next 3 st*, 6 times. (24 st)
Round 39: *sc2tog (dc2tog), sc (dc) in next 2 st*, 6 times. (18 st)
Round 40: *sc2tog (dc2tog), sc (dc) in next 1 st*, 6 times. (12 st)
add remaining stuffing.
Round 41: *sc2tog (dc2tog)*, 6 times. (6 st)
fasten off and sew remaining hole close.
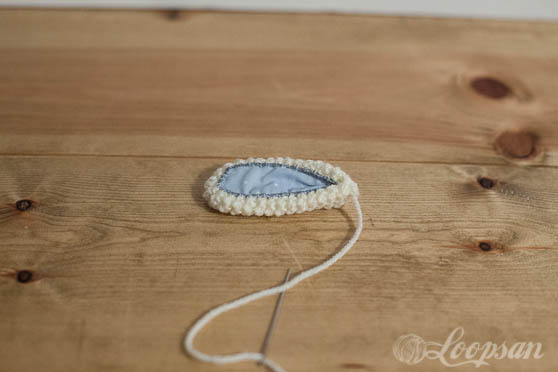
Ears (make 2):
Make Magic ring, ch 1
Round 1: 6 sc (dc) in magic ring. (6 st)
Round 2: 2 sc (dc) in each st around. (12 st)
Round 3: *2 sc (dc) in first st, sc (dc) in next 5 st*, 2 times (14 st)
Round 4-15: sc (dc) in each st around (14 st)
fasten off
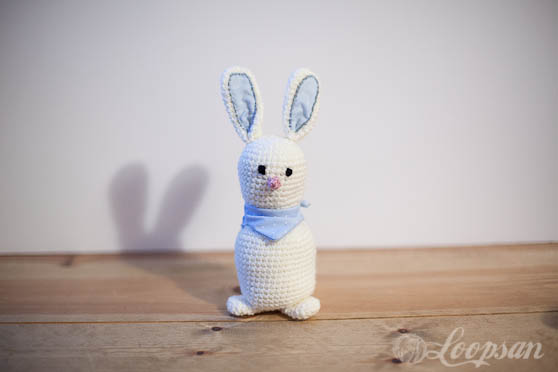
Sew fabric onto ear.
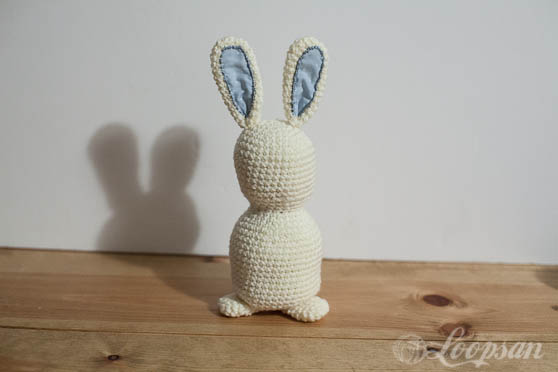
Fold ear into half and sew it securely onto Brini’s body.
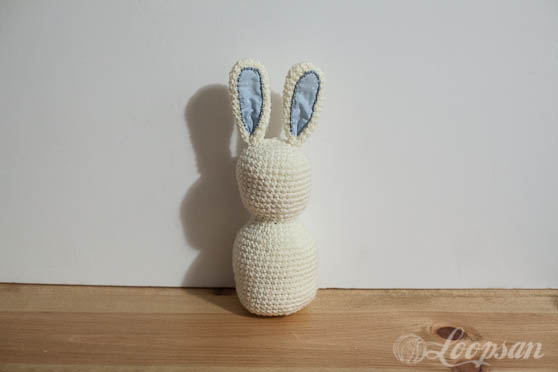
Feet (make 2)
Make Magic ring, ch 1
Round 1: 5 sc (dc) in magic ring. (5 st)
Round 2: 2 sc (dc) in each st around. (10 st)
Round 3: *2 sc (dc) in first st, sc (dc) in next 4 st*, 2 times (12 st)
Round 4-10: sc (dc) in each st around (12 st)
fasten off, sew together and attach to main body
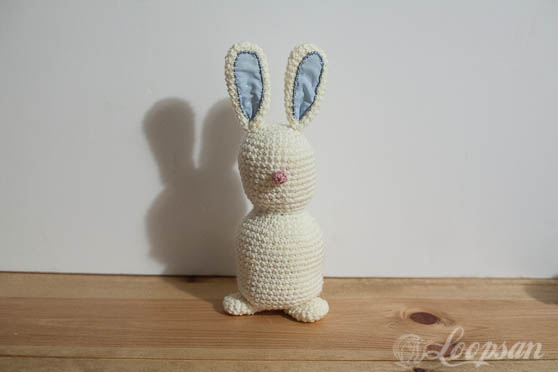
Nose
Make Magic ring, ch 1
Round 1: 5 sc (dc) in magic ring (5st)
Round 5: sc (dc) in each st around (5 st)
fasten off and attach to head
Embroider her eyes.
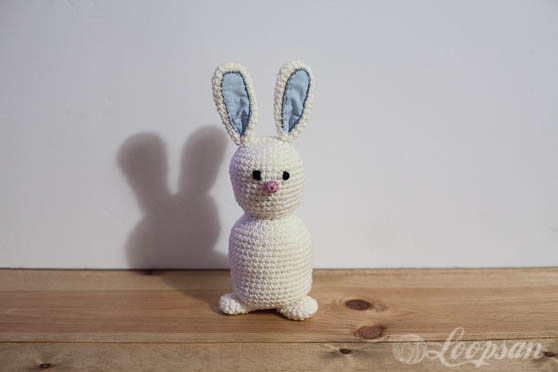
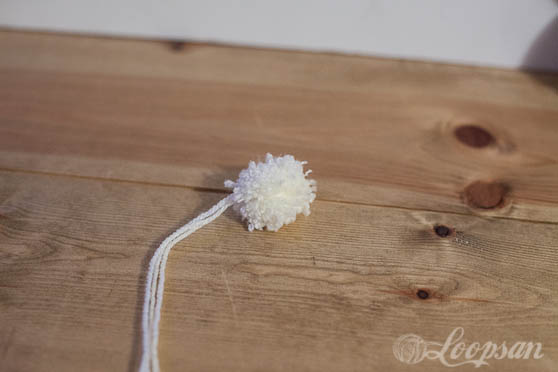
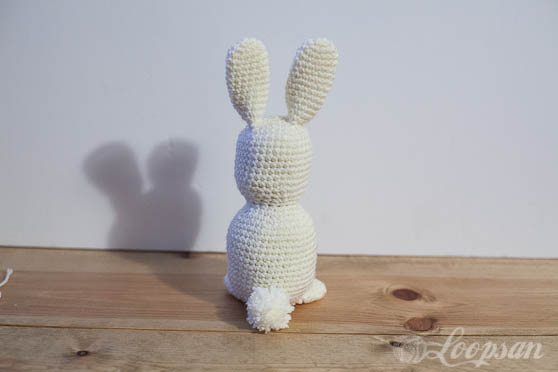
Make a mini-pom pom and attach to the back of Brini’s body.
Take a little bit of your contrast fabric and sew it into a small scarf for your bunny and you’re done :)
I hope I’ve inspired you to make your own Brini and would love to see how she turned out so please feel free to post a picture to my Facebook wall or link the project to your Ravelry account. And don’t forget to follow me on bloglovin to stay updated on what’s happening here.
Stay updated and receive exclusive discount codes in your email inbox
Happy Crocheting!

Disclaimer: This pattern is not for resale so please do not sell it to other people. If you do use it and enjoy it, I’d be grateful for a link back to my blog and the pattern, but please don’t copy and paste it to your website or copy my pictures. You’re allowed to sell finished items created with the pattern, but please do give me credit as the designer (link back to the blog when selling online). Thank you!


3 Comments
This is SO CUTE, San!
Pingback: I Love Amigurumi! 50 Links! Oombawka Design Crochet
Pingback: A Whole Lot of Bunnies! Oombawka Design Crochet