Yuhu I managed to get 300 Facebook likes, which I think is pretty awesome! :) Thanks a lot guys! As I promised you as a small thank you gift I’ve got another pattern for you. Minty, as my friend calls him, was her birthday present and I actually made him already over a month ago. I just haven’t had the time to write up the pattern and go through the pictures. Besides that, I wasn’t sure what to call him and then I realised that he was actually named already! You might wonder why I gave her a sheep as a birthday present. It’s an everlasting joke as she is originally from the country with loads of sheep ;)
Like my monkey badge, this pattern easily doubles up as an applique so the usage of little Minty is endless!
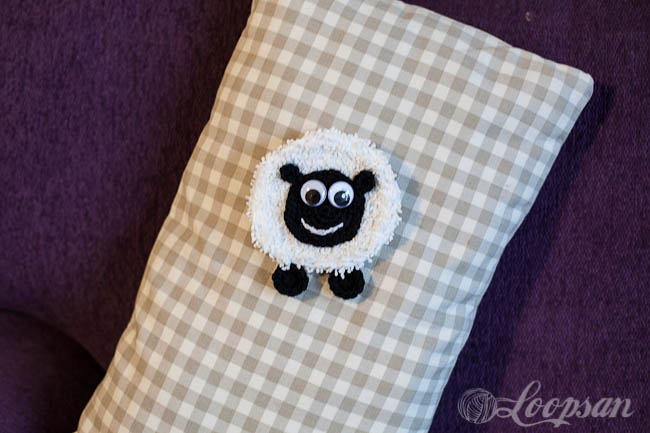
Minty – The Happy Sheep Badge Pattern
You’ll need:
- DK yarn in white and black
- “fluffy” yarn, I bought mine from the market so sadly no brand name here for you but anything which is “fluffy” will do
- 7 mm hook
- 4 mm hook
- 2 wobbly eyes in the size of your choice
- safety pon or badge pin
- tapestry needle

Abbreviations
ch= chain
sc= single crochet (US term); double crochet (dc, UK term)
hdc= half double crochet (US term); half treble crochet (htr, UK term)
st= stitch(es)
In my patterns, UK terms are always given in brackets.

Let’s get started:
So first of all if you have ever tried to crochet with fluffy yarn you will have quickly realise that it is most likely one of the more difficult materials to crochet with. All the fluffiness is great but it results in your stitches being quite difficult to find. But no worries I’ve got a little tip for you on how you can master fluffy yarn but still see your stitches without any problems
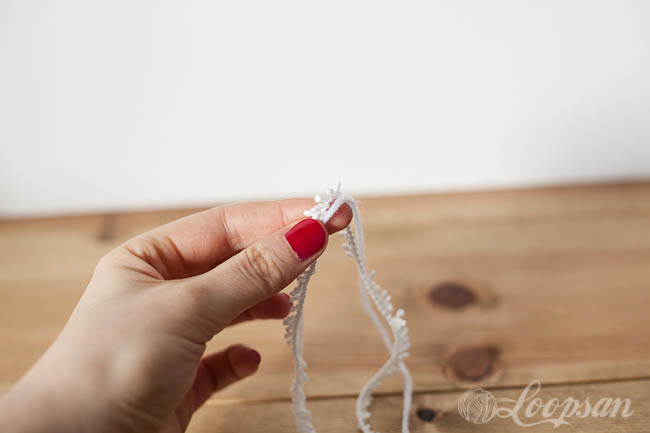
use your fluffy yarn and one strand of white DK yarn together :) Its pretty easy. This way you still keep the “fluffiness” but the DK yarn will make it possible that you can see where you’re putting your stitches. Of course this is optional you don’t have to do it this way if you don’t want to!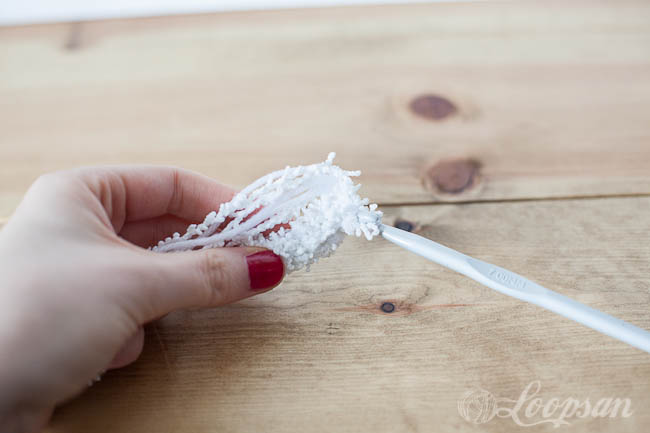
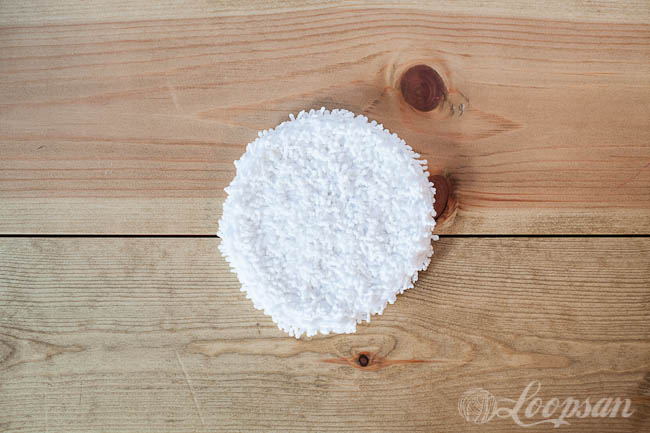
Body
with your fluffy/DK yarn mix and a 7 mm hook
Make Magic ring, ch 1
Round 1: 6 hdc (htr) in magic ring. (6 st)
Round 2: 2 hdc (htr) in each st around. (12 st)
Round 3: *2 hdc (htr), hdc (htr) in next st*, 6 times. (18 st)
Round 4: *2 hdc (htr), hdc (htr) in next 2 st*, 6 times. (24 st)
Round 5: *2 hdc (htr), hdc (htr) in next 3 st*, 6 times. (30 st)
fasten off, weave in ends.
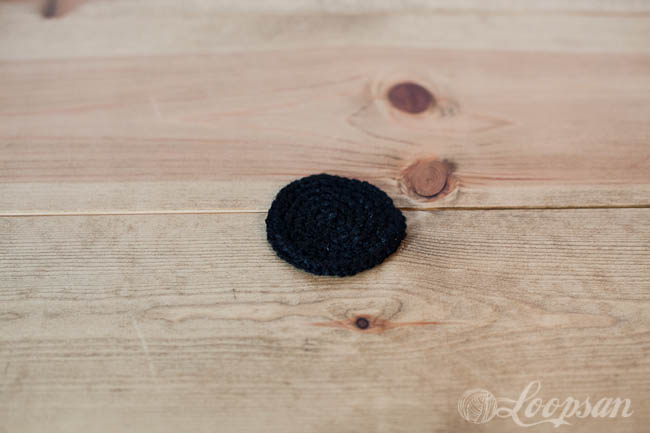
Head
with black yarn and 4 mm hook
Make Magic ring, ch 1
Round 1: 6 hdc (htr) in magic ring. (6 st)
Round 2: 2 hdc (htr) in each st around. (12 st)
Round 3: *2 hdc (htr), hdc (htr) in next st*, 6 times. (18 st)
Round 4: *2 hdc (htr), hdc (htr) in next 2 st*, 6 times. (24 st)
Round 5: *2 hdc (htr), hdc (htr) in next 3 st*, 6 times. (30 st)
Round 6: *2 hdc (htr), hdc (htr) in next 4 st*, 6 times. (36 st)
fasten off, weave in ends.
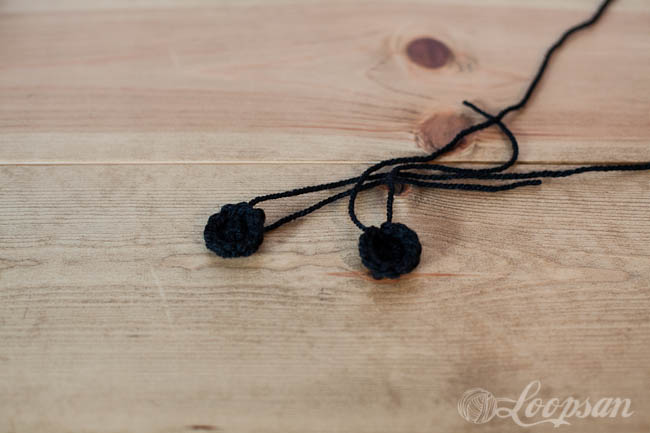
Leg (make two)
with black yarn and 4 mm hook
Make Magic ring, ch 1
Round 1: 6 sc (dc) in magic ring. (6 st)
Round 2: 2 sc (dc) in each st around. (12 st)
fasten off, but don’t weave in end yet

Ear (make two)
with black yarn and 4 mm hook
Make Magic ring, ch 1
Round 1: 6 sc (dc) in magic ring. (6 st)
fasten off, but don’t weave in end yet
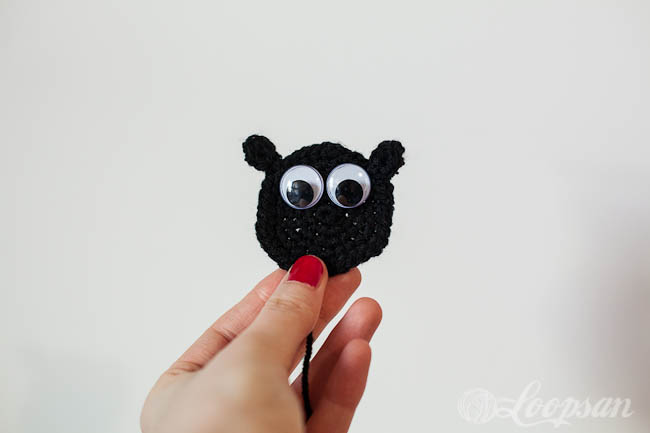
Attach wobbly eyes and ears to Minty’s head
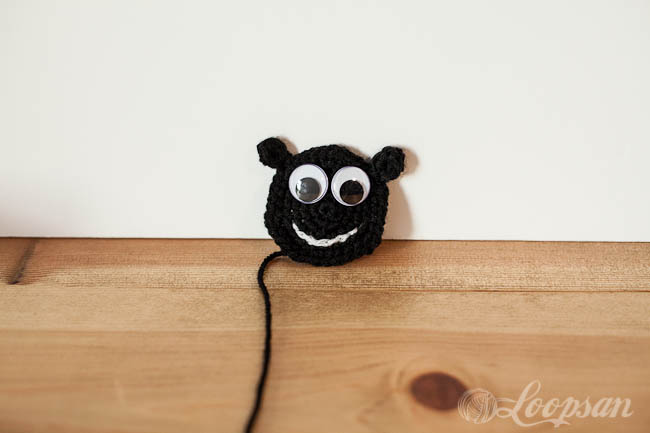
Next step make Minty smile :)
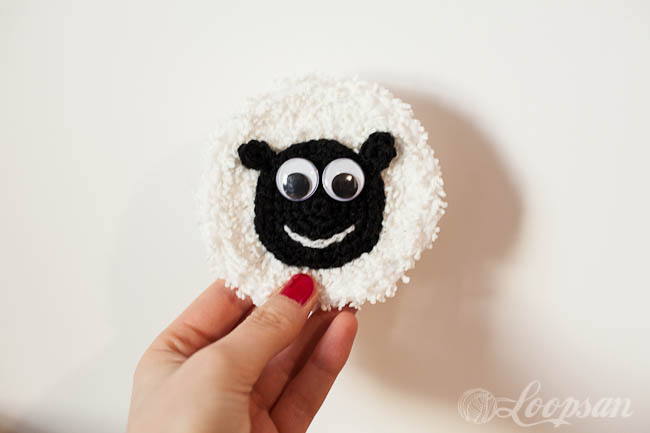
Attach head to body
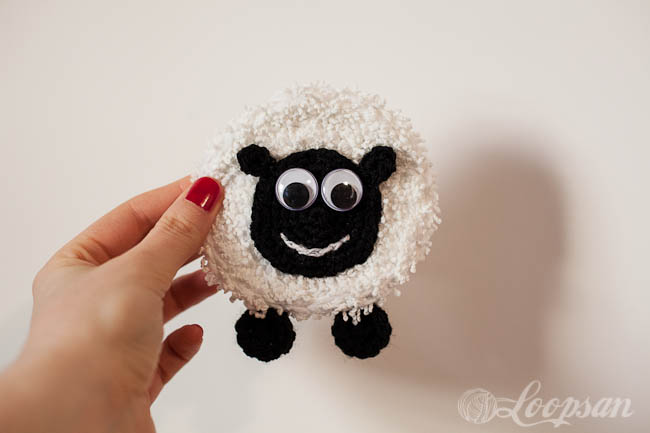
And now his legs
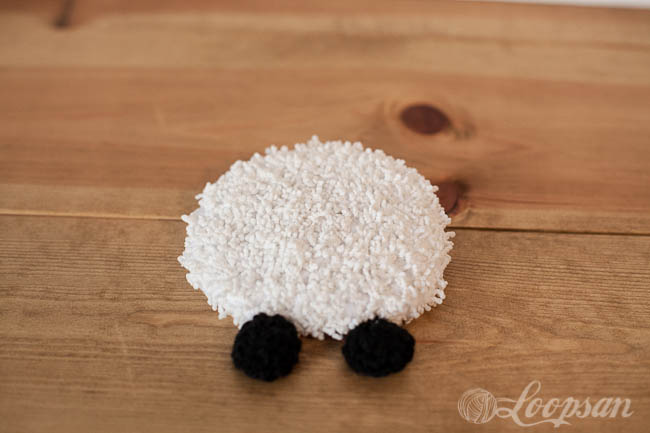
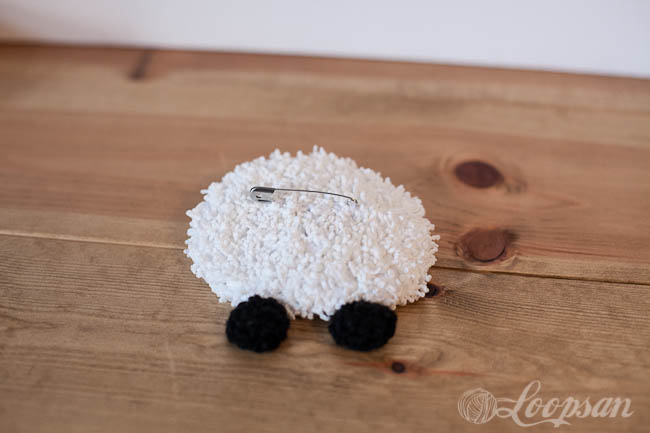
Now only the badge pin/ safety pin is missing to turn Minty into a badge.

I would love to see how your Minty turned out so please feel free to post a picture to my Facebook wall or link the project to your Ravelry account. And don’t forget to follow me on bloglovin to stay updated on what’s happening here.
Stay updated and receive exclusive discount codes in your email inbox
Happy Crocheting!

This blog entry is my submission to the Deramores Blog Awards 2014. Deramores is the UK’s number one online retailer of knitting and crochet supplies. If you want to learn more about the blog awards check out all the details here.
Disclaimer: This pattern is not for resale so please do not sell it to other people. If you do use it and enjoy it, I’d be grateful for a link back to my blog and the pattern, but please don’t copy and paste it to your website or copy my pictures. You’re allowed to sell finished items created with the pattern, but please do give me credit as the designer (link back to the blog when selling online). Thank you!


4 Comments
So cute! A very detailed post with great pics & info – will be sure to check back here and try out some of your stuff ;)
This is really cute! I must convince my mom to make me one since I never really learned how to crochet. :)
Awh, you’re making me wish I knew how to crochet! Super cute!
Pingback: 50 Free Crochet Brooch Patterns Oombawka Design Crochet